Friday, July 1, 2011

Mexican Pot Pie


We had friends over putting in our new patio this past spring. (Thanks, guys!) They did an awesome job and we promised them a full meal for their help. So while they were working outside I was working in the kitchen to make this Mexican Pot Pie. It is from the Best of Pillsbury Bake-Off book. Yum! I wound up doubling the recipe and making two whole pies. (I had a lot of hungry men at my house). 


Instead of buying raw chicken and cooking it, I decided to take a short cut (no pun intended) and use the Purdue chicken breast Short Cuts - Southwestern Style. It seemed just too perfect (they were on sale) for me to pass up. 


Ingredients:
1 container of pie crusts (2 crusts per box)
1 package refrigerated southwestern-seasoned chicken breast strips, thawed
1/2 cup uncooked instant rice
1 15 oz. can of black beans, drained & rinsed
1 can kernel corn with red & green peppers, drained
1 can of whole black olives, drained & sliced
1 tsp garlic powder
1 tsp ground cumin
1/2 tsp salt
1/2 tsp black pepper
1 cup fat free sour cream
1 cup chunky-style medium salsa
2 cups shredded cheese, mexican-style
1 egg, beaten




Directions:
Preheat oven to 400 degrees.
Prepare pie crust as directed in pie plate.
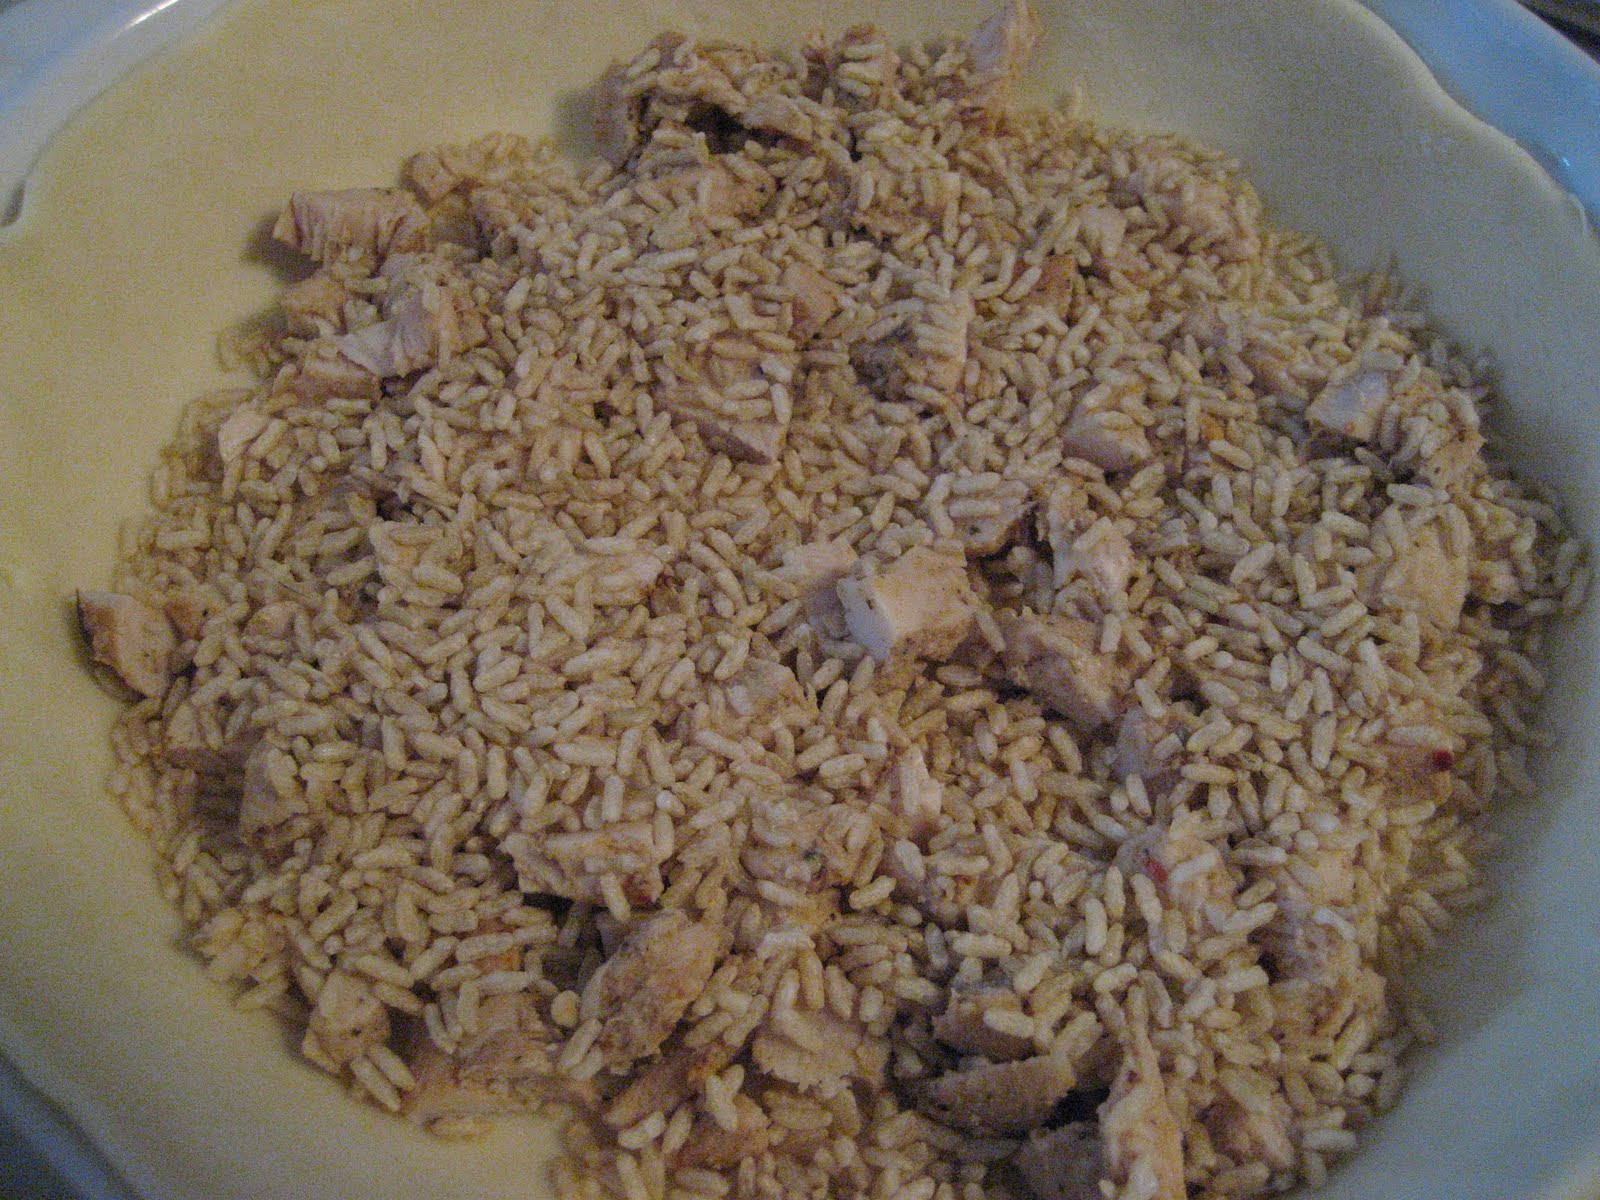
In a large bowl mix chicken, rice (uncooked), beans, corn, olives, garlic, cumin, salt, pepper, sour cream, & salsa.
Pour into each crust-lined pie plate.
Top with second crust. 
Seal edges and attempt to make the edges fancy. (I didn't bother).
Cut slits in several places.
Brush top with beaten egg and top with parsley.
Bake in oven for 15 to 20 minutes.
Then cover edges of crust with foil and bake for an additional 20 to 25 minutes. (this prevents the edges from burning too much).
Let stand for a few minutes, then serve. 


What do you think? Comments? Suggestions? I would love to know that you visited my blog. Please leave me a message letting me know you were here! Did you try out a recipe? Let me know! I would love to hear from you :-)


Baby Shower Cake Pops

I recently helped plan out two baby showers this year and made some cake pops for each one. I made owl cake pops, baby boy cake pops, and pink & silver sprinkled cake pops. 

Here is a sneak peek of how they turned out. Stay tuned for multiple posts on the big events!


What do you think? Comments? Suggestions? I would love to know that you visited my blog. Please leave me a message letting me know you were here! Did you try out a recipe? Let me know! I would love to hear from you :-)


Thursday, June 30, 2011

Cake Pop Stand

For my birthday this year my dearest Father got me the perfect gift - A Homemade Cake Pop Stand! Isn't it beautiful??? There are so many crazy cake pop stand ideas out there. To buy them on Etsy is expensive and to make them myself would be disastrous. I've been making a lot of cake pops lately -- for a grad party, for a bridal shower, and for a baby shower. I'm running out of cute ways to display them. This was exactly what I needed. Thanks dad! I've already put it to good use! I brought in cake pops for my students on the last week of school. I rewarded my top students in each class. It was really fun. Now I just need another one to match. Maybe for Christmas???


What do you think? Comments? Suggestions? I would love to know that you visited my blog. Please leave me a message letting me know you were here! Did you try out a recipe? Let me know! I would love to hear from you :-)

Wednesday, June 29, 2011

Bride & Groom Cake Pops


I recently made bride & groom cake pops for a friend's bridal shower. They are really cute and not TOO hard to make, once you get the hang of it. The hardest part about them was transferring them to New Jersey for the actual shower. 


These were extra special because I mixed Heath Bar Chips in with the crumbled cake & chocolate frosting before making the actual cake balls.

There are special types of sprinkles you can use to make the bow ties but I couldn't locate them so we used to melted chocolate and a toothpick instead. I wasn't any good at making them, so my friend Nicole did them. (Thanks, Nicole!) 


The larger white sprinkles used for the groom's buttons and the bride's necklace are at every AC MOORE or Michael's you can think of. They also come in a ton of other colors if you need them for other projects.


We tried different variations of the bride's dress. Some of them with white chocolate drizzle and the other was sprinkles on top of white fondant writing. 


What do you think? Comments? Suggestions? I would love to know that you visited my blog. Please leave me a message letting me know you were here! Did you try out a recipe? Let me know! I would love to hear from you :-)

Tuesday, June 28, 2011

Easter Bunny Cake Pops


I made these super cute bunny rabbit cake pops for Easter this year. The secret was to use pastel pink colored candy corn as the ears. I had to cut off the tips and "glue" them on upside down using melted pink chocolate. The noses are big pink heart sprinkles. I used pink gel icing to draw on the mouths. They were a hit!


I was short on cake pop stands when I made these so I had learned a trick about using old egg cartons instead. They worked nicely since I didn't make too many cake pops. They made transport in the car easy as well. 


What do you think? Comments? Suggestions? I would love to know that you visited my blog. Please leave me a message letting me know you were here! Did you try out a recipe? Let me know! I would love to hear from you :-)


Monday, June 27, 2011

Healthified Chicken Tortilla Casserole


http://www.bettycrocker.com/ has some awesome recipes, check them out and enjoy exploring. In the meantime here is a great, HEALTHY recipe. Can't go wrong with Mexican!

Ingredients:
1  can (10 3/4 oz) 98% fat free condensed cream of chicken soup
1  can (4.5 oz) chopped green chiles
1  container (8 oz) fat-free sour cream
1/2  cup skim milk
2  tsp chili powder
1/2  tsp ground cumin
2 1/2  cups shredded cooked chicken breast
8  yellow corn tortillas (6 or 7 inch), torn into bite-size pieces
1  medium green bell pepper, chopped (1 cup)
1  large tomato, chopped (1 cup)
1 1/2  cups shredded sharp Cheddar cheese or Mexican cheese blend (6 oz)


Directions:
Heat oven to 350 degrees.
Spray 13x9 glass baking casserole dish.
In a large bowl mix soup, chiles, sour cream, and milk. Blend well.
Stir in chicken, tortillas, and bell pepper.
Stir in tomato and 1 cup of cheese.
Spoon and spread mixture in baking dish.
Cover with foil. Bake for 40 minutes.
Uncover and sprinkle with remaining cheese.
Bake uncovered 5 to 10 minutes longer or until cheese is bubbly.
Let stand for a few minutes before eating.


What do you think? Comments? Suggestions? I would love to know that you visited my blog. Please leave me a message letting me know you were here! Did you try out a recipe? Let me know! I would love to hear from you :-)

Sunday, June 26, 2011

Graduation Cake Pops


I recently made some graduation cake pops for a friend's party. I also made some for my brother-in-law who is finishing up his graduates degree from Georgetown Business School (Yay Benj!). As you can see they are really cute. But what I learned is they are actually one of the easiest cake pops to make. They also taste so good too! Be careful, everyone will think they are peanut butter cups. You should put out a sign.

To start you have to make extra small cake balls. They need to fit inside the candy cup molds. Pour a little bit of melted chocolate in cups, then place the cake balls in cups (smoosh them down a little, if needed) and try not to let anything overflow. Then cover with more melted chocolate. 


Insert sticks immediately and place in freezer. 


How cool are these? Use these and mini m&m's to create the tassels on the graduation caps. Use a knife to cut into strips or to just start the separation, they will pull nicely apart if you get the cut started. 


The actual caps are those Ghiardelli dark chocolate squares (there are other brands available). But you can also get square shaped candy molds. Take the cake pops out of the freezer then pop them out of the molds. Use melted chocolate to attach.


What do you think? Comments? Suggestions? I would love to know that you visited my blog. Please leave me a message letting me know you were here! Did you try out a recipe? Let me know! I would love to hear from you :-)

Wednesday, June 15, 2011

Southwestern Pasta Salad

Perfect for those summer barbecues. Cut down on the pasta, skip on the cheese & oil, and replace with vegetables & beans to keep the calories/fat down.


My husband & I were going to a picnic on Sunday night and I needed to come up with a salad recipe. I wanted to do something besides macaroni salad or Amish pasta salad. I wanted to do something healthy & light so I looked up some ideas on All Recipes and pulled this together. Lots of leftovers to eat throughout the week!

Ingredients (serves 12+):

  • 1 package of colored rotini pasta 
  • 1/4 cup fresh lime juice
  • 2 tbsp chili powder
  • 2 tsp ground cumin
  • 1/2 tsp salt
  • 2 cloves garlic, minced
  • 2 15 oz. cans of whole kernel corn
  • 2 15 oz. cans of black beans, drained & rinsed
  • 2 green bell peppers, diced
  • 2 red bell peppers, diced
  • 1/2 cup cilantro paste (goya)
  • 4 roma tomatoes, chopped

Directions:

  • Cook pasta according to box directions.
  • Meanwhile, chop of peppers & tomatoes.  
  • In a large bowl combine lime juice, chili powder, cumin, cilantro paste, salt, & garlic. Stir in pasta.
  • Mix in veggies, corn, & beans. 
  • Stir well, use hands if necessary.
  • Chill in fridge until ready to serve.

 Serve in this awesome Mickey Mouse bowl if you have one :-) 


What do you think? Comments? Suggestions? I would love to know that you visited my blog. Please leave me a message letting me know you were here! Did you try out a recipe? Let me know! I would love to hear from you :-)

Broccoli Calzones (again).

I recently posted about Broccoli Calzones. They are great freeze-ahead meals and perfect to bring to a friend who just had a baby. Here are pictures of what the calzones look like after they've been cooked. Delicious! 


Also, you can improve the amount of calories & fat per serving by skipping the oil, skipping the tomato dipping sauce, cutting the amount of cheeses, and lastly using reduced fat crescent rolls or biscuits instead of pizza dough. Here is the new nutritional info using reduced fat biscuits and using fat free olive oil cooking spray:


Servings: 4      Calories: 312      Fat: 16      Points: 7.3      Points Plus: 8.9


See original post for other nutritional information.


What do you think? Comments? Suggestions? I would love to know that you visited my blog. Please leave me a message letting me know you were here! Did you try out a recipe? Let me know! I would love to hear from you :-)

Saturday, June 11, 2011

Cooking With Jilly will be updated soon! Stay Tuned.

Monday, May 16, 2011

Broccoli Calzones

This is from Martha Stewart's recipes. She has got a ton on her website and specifically has great freezer ones. I must admit her recipes are great, but usually very time consuming. This broccoli calzone one is fantastic however! It doesn't take that long to prepare and cook. Scroll to the bottom for nutritional information.


Ingredients:
  • 1 tablespoon olive oil
  • 1 packages (10 ounces) frozen chopped broccoli thawed
  • 4 garlic cloves chopped
  • 1/4 teaspoon red-pepper flakes
  • 1 package of pillsbury pizza crust or seamless dough, thawed
  • 1/2 cup part-skim ricotta cheese
  • 1/4 cup grated Parmesan cheese
  • 1 cup shredded part-skim mozzarella cheese
  • Coarse salt and ground pepper
  • Prepared tomato sauce (optional)
  • 1 medium red onion finely chopped
      Directions:
      Preheat oven to 400 degrees. In a large nonstick skillet, heat oil over medium heat.  Add onion and cook for a few minutes.  Then add broccoli, garlic, and pepper flakes.  Cook, stirring occasionally, until liquid has evaporated, 5 to 7 minutes. Remove from heat. If you plan on eating this immediately then form your calzones on a lightly floured surface. If you plan on freezing it for later then form your calzones on a piece of plastic wrap. Use flour if needed, but I did not. Stretch the dough out, you can try to make more of an oval shape for the calzone effect, but once again, i'm not trying to be Martha Stewart here.  Stir parmesan, ricotta, and mozzarella into cooled broccoli mixture Add lots of salt and pepper.  Pour the cheese/broccoli mixture onto one half of the side of the dough. Then fold the other half of the dough over top. Seal and feel free to get fancy with your edges. Cut two slits into the top. Transfer calzones to baking sheet. Bake until golden, about 25 minutes. Serve with tomato sauce, if desired. 

        OR...if you choose to freeze, wrap up in plastic wrap, then seal in plastic ziplog bag and place in freezer up to 2 months. When you are ready to eat you can take it directly from the freezer, unwrap and bake on baking sheet for 35 to 40 minutes. 

        I would normally just recommend NOT using Martha's recipes simply because the picture of how her recipes turn out and how my recipes come out, just don't compare. But I learned a long time ago to stop comparing myself to others. So just don't try to live up to this unrealistic standard. In fact, check out this great blog: http://www.wearenotmartha.com/. 

      (Does not include Tomato Sauce for dipping)


      Servings: 4      Calories: 402      Fat: 13.5      Points: 8.5      Points Plus: 11


        What do you think? Comments?Suggestions? I would love to know that you visited my blog. Please leave me a message letting me know you were here! Did you try out a recipe? Let me know! I would love to hear from you :-)

      Saturday, April 16, 2011

      Peanut Butter Baked Oatmeal

      I love peanut butter, I love baked oatmeal. How could this recipe go wrong??? I added chocolate chips to take it to another level, but that's optional. It still tastes really good without the chocolate chips.

      Ingredients:
      5 cups quick cooking oats
      1/2 cup brown sugar
      2 cup milk
      2 tbsp butter, melted
      2 eggs
      2 tsp baking powder
      3/4 tsp salt
      2 tsp vanilla
      1 cup peanut butter


      Directions:
      Mix all ingredients in a medium bowl. 
      Stir together then spread in a greased 13 x 9 pan.
      Bake at 350 degrees for 20 to 30 minutes.
      Add additional milk, if needed.


      What do you think? Comments? Suggestions? I would love to know that you visited my blog. Please leave me a message letting me know you were here! Did you try out a recipe? Let me know! I would love to hear from you :-)


      Related Posts Plugin for WordPress, Blogger...